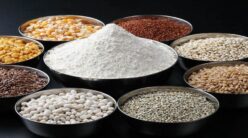
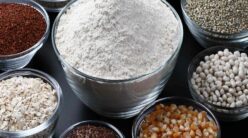
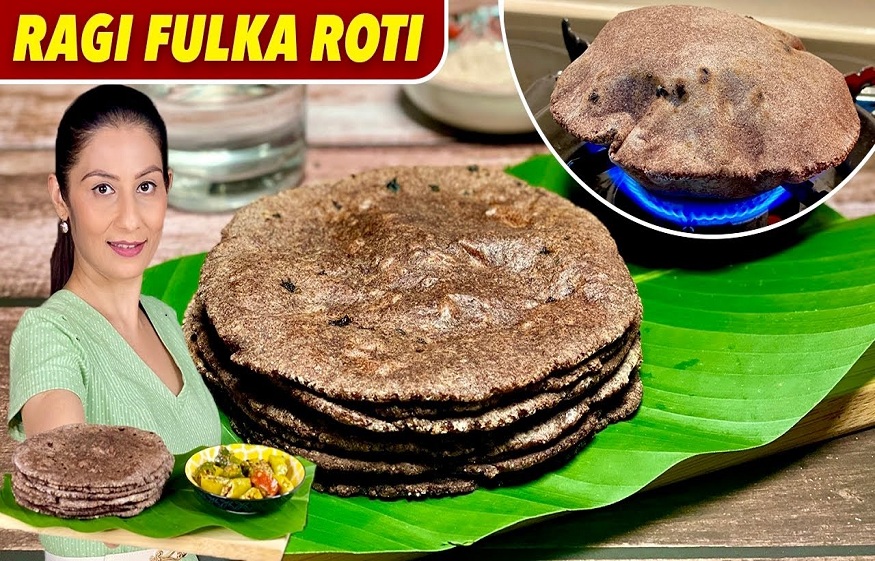
Picture this: a steaming plate piled high with warm, fluffy rotis, their aroma filling the air. But these aren’t your everyday rotis. These are specially crafted from the nutrient-rich goodness of nachni, an ancient grain experiencing a well-deserved resurgence in modern kitchens. If you’re looking to add a dose of health boost and unique flavour to your meals, look no further than nachni flour roti. This guide will take you through the process, from understanding the grain to mastering the art of making soft, flavorful rotis.
What is Nachni?
Nachni, also known as finger millet, is a powerhouse of nutrition. This gluten-free grain has been a dietary staple in India and Africa for centuries. It is prized for its resilience in arid climates and impressive nutrient profile. Here’s why Nachni are the benefits of nachni:
Fibre Powerhouse: Nachni is an excellent source of dietary fibre. It aids in digestion, promotes satiety, and may help regulate blood sugar levels.
Protein Punch: Compared to other grains, nachni boasts a higher protein content. This makes it a valuable addition to vegetarian and vegan diets.
Mineral Rich: Nachni is a good source of essential minerals like calcium, iron, and magnesium. These minerals are crucial for bone health, energy production, and overall well-being.
How to Make Nachni Roti?
Ingredients:
- 1 cupnachni flour
- 1/2 cup of hot water
- 1/4 cup of cold water
- 1 tsp. oil (optional)
- Salt to taste (optional)
Equipment Required:
- Mixing bowl
- Rolling pin
- Tawa (griddle)
Step-by-Step Recipe:
Step 1:
In a mixing bowl, combine the nachni flour and salt. Gradually add the hot water, mixing with a spoon until a shaggy dough is formed. Then, add the cold water, a little at a time, and knead until you achieve a smooth and pliable dough. Add the oil towards the end of the kneading process.
Step 2:
Cover the dough with a damp cloth and let it rest for at least 15–20 minutes. This step allows the flour to hydrate fully, resulting in softer, more pliable rotis.
Step 3:
Divide the dough into small, equal-sized balls. Dust each ball with a little nachni flour. Roll these into a thin circle using a rolling pin.
Step 4:
Heat a tawa (griddle) over medium-high heat. Once hot, carefully place the rolled roti on the tawa. Cook for about 30 seconds until small bubbles appear on the surface.
Step 5:
Flip the roti and cook for another 30 seconds. Now, using a clean kitchen towel, gently press down on the edges of the roti, encouraging it to puff up. Flip it once more and cook for a few seconds until you see those beautiful brown spots.
Tips for Perfect Nachni Rotis
Dough Consistency:
The key to soft rotis lies in the dough consistency. It should be smooth and not too sticky. Adjust the water quantity as needed, adding a tablespoon at a time.
Rolling Techniques:
Nachni dough can be slightly trickier to roll than wheat dough. Using a flat-bottomed plate to press the dough can make the process easier.
Cooking Temperature:
A hot tawa is crucial for achieving soft and fluffy rotis. If the tawa isn’t hot enough, the rotis may turn out dry and brittle.
Serve your warm nachni rotis with a dollop of ghee or your favourite curry. For added flavour and to boost the benefits of nachni, you may experiment with herbs and spices in the dough as well. Nachni-flour roti is a delicious and nutritious way to incorporate this ancient grain into your diet. With its earthy flavour and impressive nutrient profile, nachni flour deserves a place at your table. So, embrace the goodness of nachni for a wholesome meal!

